10/09/2018 by Pamela Barthold 0 Comments
How to create a “Wow” kitchen backsplash
HOW TO CREATE A “WOW” KITCHEN BACKSPLASH!
You see gorgeous kitchen backsplashes in magazines and DIY shows but don’t know were to start! How do they put all of those unique tiles together? When you go to the tile store you think it will be so easy but when you get there you are overwhelmed with how many chooses there are. What style do you choose? What colors coordinate? How do I even begin? Let me help demystify choosing your tiles! Tile companies actually have designers on staff that create designer looks utilizing different tiles, shapes, sizes, and colors that are designed to be coordinated and utilzed together hence you can purchase them together instantly. Good tile stores create style boards that show you how to put together tiles in unique ways hence you can get great style concepts from them. Or you can hire an Interior Designer for an hour or two to review pictures of your home and quickly choose tiles for you for a custom styling just for you!
1) Start by choosing your style! Is it rustic? Then go for a matte or tumbled tile, one that is rough looking. Is it traditional, then go with a traditional shape like a subway tile that is a rectangle and a material that is seen in every day like a porcelain. Or are you modern? Look for a sleek surface like glass, or unique like cement or an arty modern tile! Pull lots of tiles and see them away from all the others so you can get a better perspective of them as they look different when they are combined with other tiles.
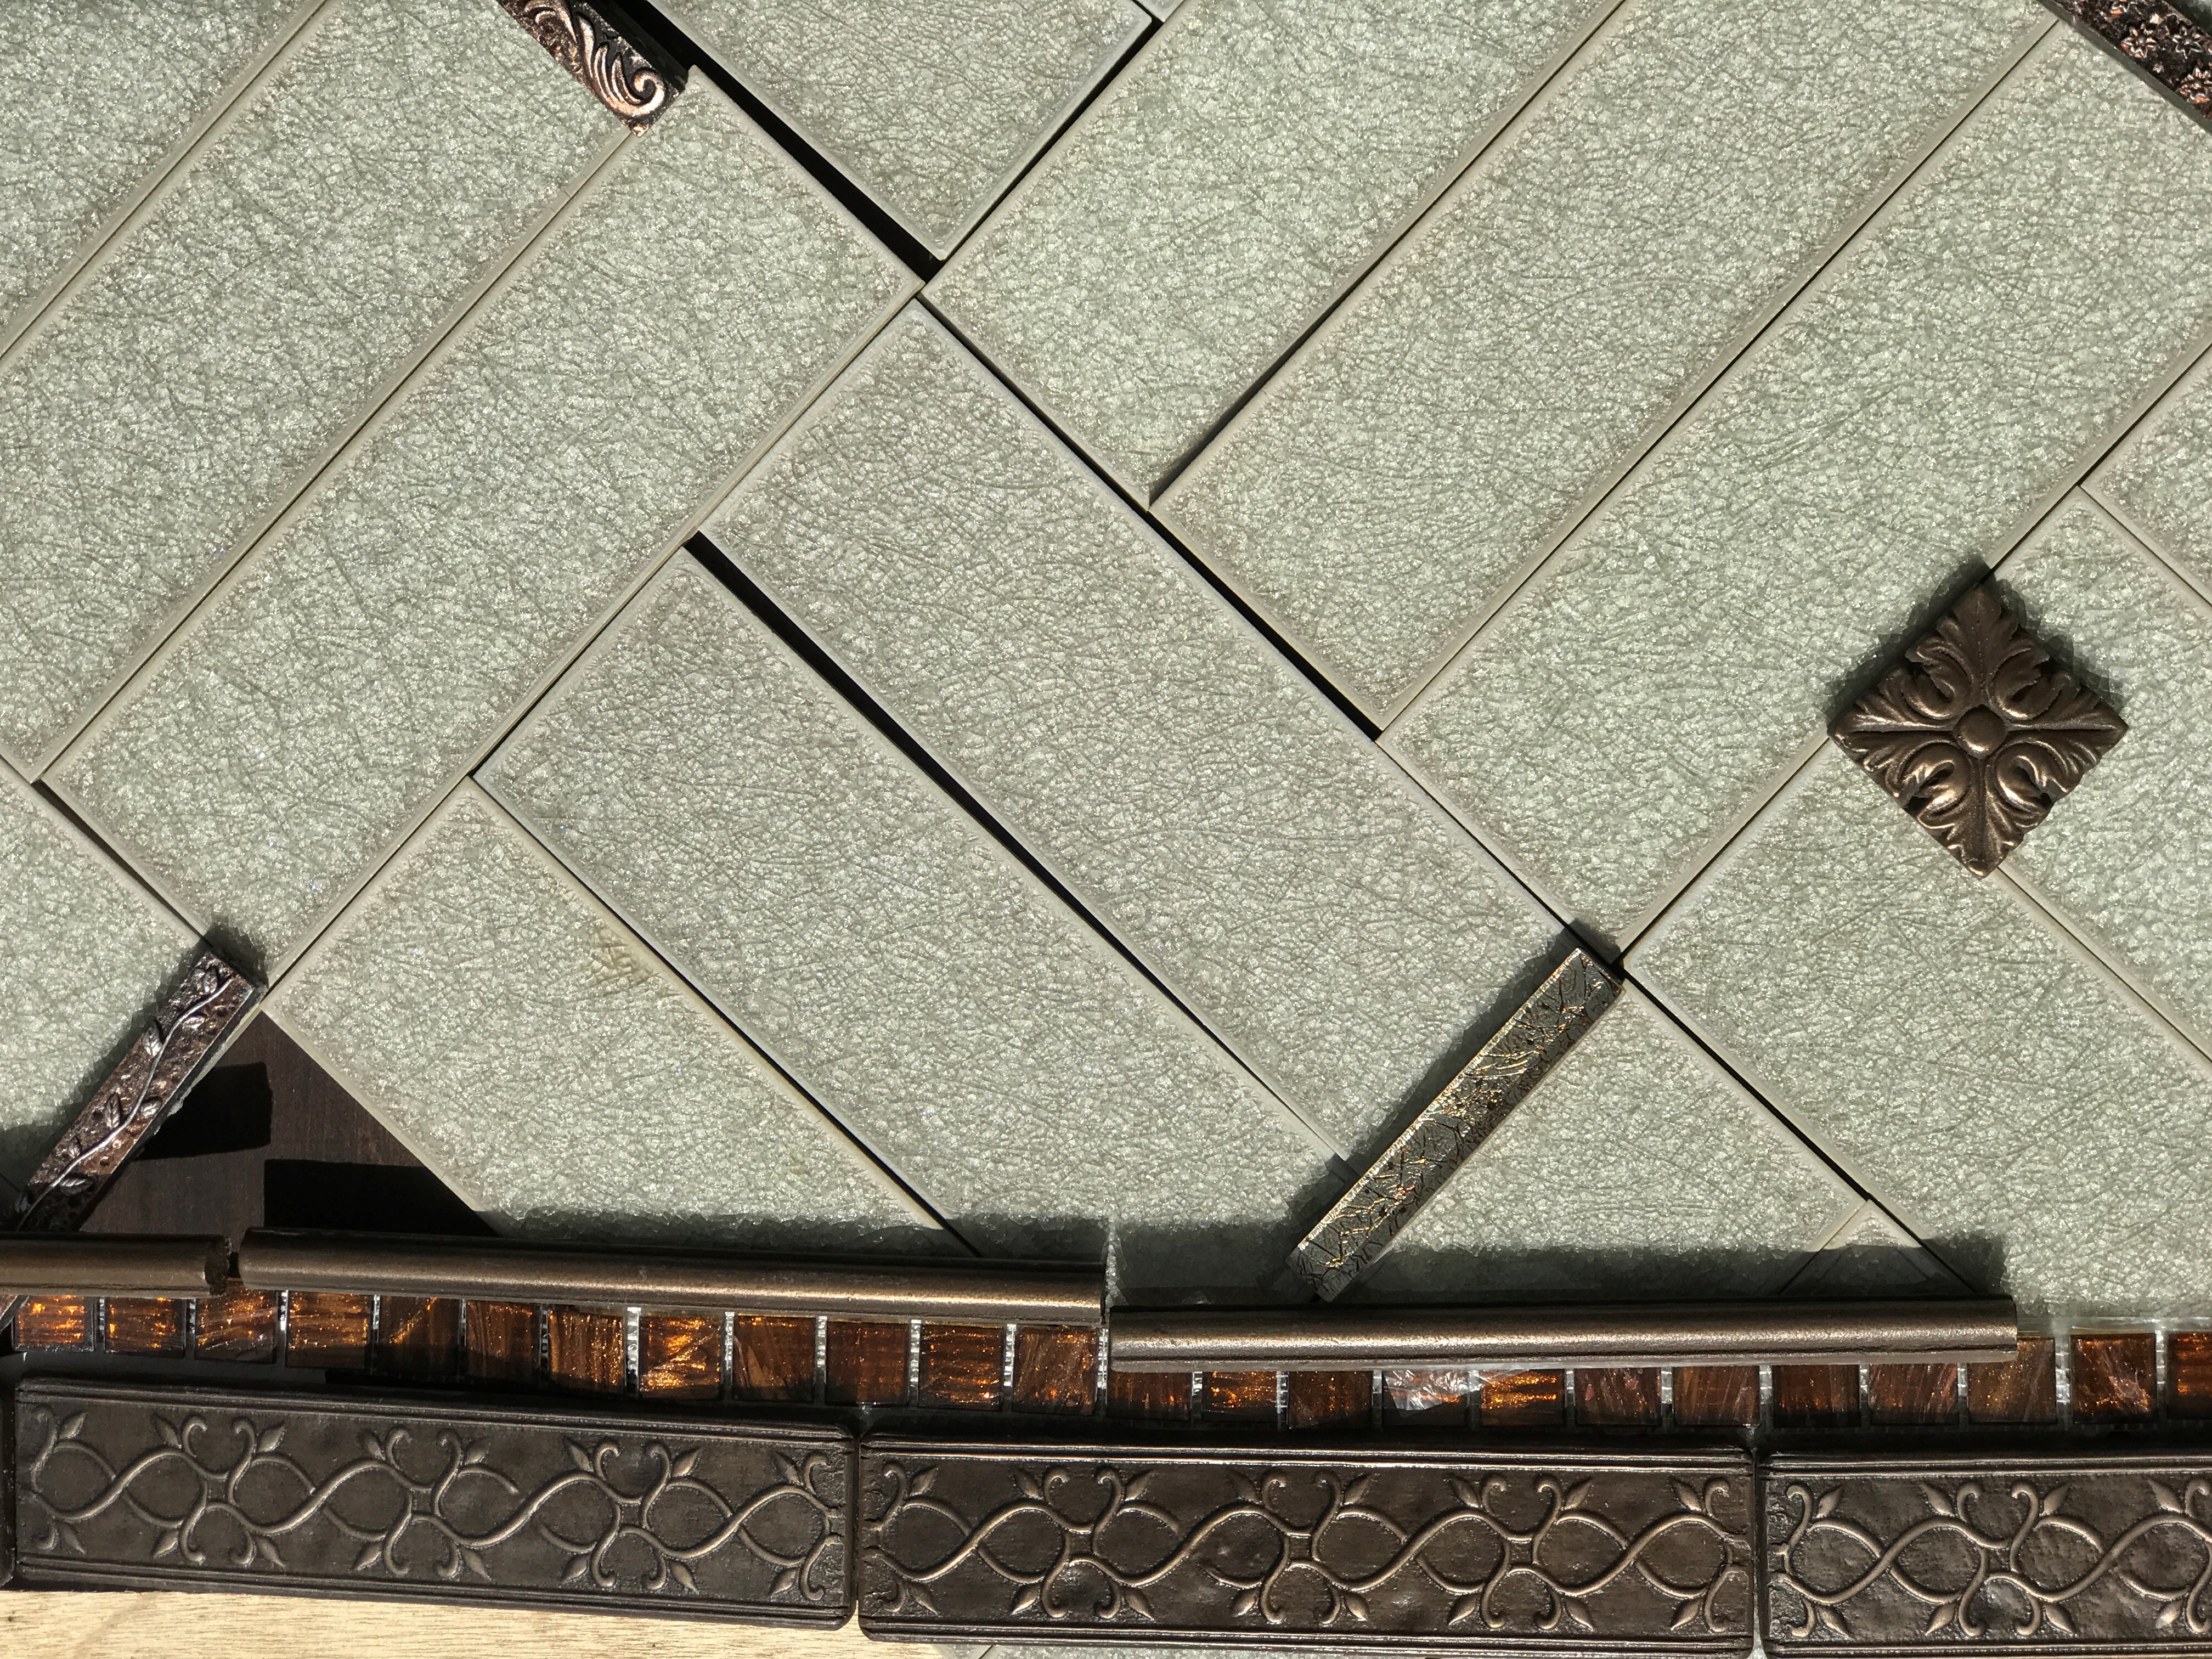
2) Pull the tiles you love from the boxes or off the wall and lay them out on the tables in the store, that is what the’re for! Try different combinations. First start with your field tile which is the tile you would have the most of throughout your design. Then choose an accent tile which is what you will be utilizing to place in random locations or “kiss” throughout the field as an accent. These should be unique such as metal, glass, artistic, decorative. They tend to cost more so only a few will be needed. Purchase them in odd numbers so when you scatter them it doesn’t become a distinguishable pattern, unless you want that.
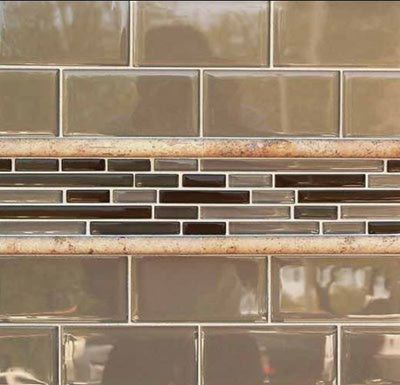
3) Choose a linear piece which is called a cigar. It is a small thin tile that is about 1/4″ to 1″ and about 6″-8″ long. These are used to seperate two different patterns from the top and bottom section of your backsplash, or at the base of your backsplash where it hits your countertop for a smoother transition. When creating the two sections you have many chooses, you can keep the tiles in the same geometric patterns for a cleaner look or change the direction or pattern utilizing the same tiles. but I do not recommend changing the tiles entirely as you only have 18″ -22″ to design within for a backsplash and using too many different colored tiles and or types will get messy and cluttered looking. Less is more as they say even with tiles!
4) Draw out the outline of your backsplash and layout your tile in completion before you put it into place on the wall. This will allow for less costly error when installing as well as seeing the final results that can be changed or altered before install.
5) Choosing grout. When choosing grout choose the color that is closest to the dominate color so it disappears. Choose a polymer based grout vs sand based as it is easier to clean and has a smooth finish vs rough sandy finish.
Comments