As an Interior Designer for over 20 years I do the same thing everytime I walk into a new home. I first meet the homeowner and get to know them, their likes and dislikes and what their vision is. I am always surprised that 90% of the time they just want me to just jump in and start designing without knowing their thoughts on what their needs are. As I tell them, when I am finished designing their home I leave and they live there with their families hence I am there to design for them not me. That pushes them to dig deep and start thinking of each room and how they will utilize them. Do they have large gatherings? Do they have children? Do they want everything to have a place, hence more storage? They become part of the process and 100% of the time become excited to be part of the designing of their home!

Once I determine what the homeowner’s needs are I start looking at the “bones” or structure of the home. I look to see what can be changed easily with low cost additions or changes and what can be changed but would require an extensive remodel or higher cost. I start sketching out the concepts in order for the homeowner to see the vision in my head. My sketches are quick and very effective as the homeowner has an instant visual idea of what my thougths are. They get so excited to see the possibilities of their new home drawn right in front of them! We look at opening up walls, moving furniture, adding furniture, adding windows, moving staircases, what items can be repurposed and what items should go. If they love the idea and it is in their price point then we design around this thought.
I walk throught the entire home or to a specific room if it is only say a kitchen remodel or bath. I look at what is existing and ask personal questions about how they cook, what they struggle with now in the kitchen, what they would love to see in the kitchen in order to determine what needs to be changed or added to say the kitchen if that is the room I am designing. Once the broad bases are covered we start talking about the details such as cabinets. There are so many questions just to determine what types of cabinets one needs and/or wants, color, raised panel, shaker, inset or overlay doors, flat panels for the drawers or matching the cabinets, hidden hinges which cost more, soft close, low grain wood like alter or maple doors or high grain like walnut, paint grade or stain, glass inserts, upper cabinets or shelves, one color cabinets thoughout or mix and match. This is the point where I really slow down and go through all the details step by step to insure the homeowner knows exactly what the effects aesthetically will be to their cabinets, as each decision makes a crucial difference in the aesthetics. This is a step that is missed in 60% of all cabinet purchases leading to disapointment and costly errors at cabinet install.
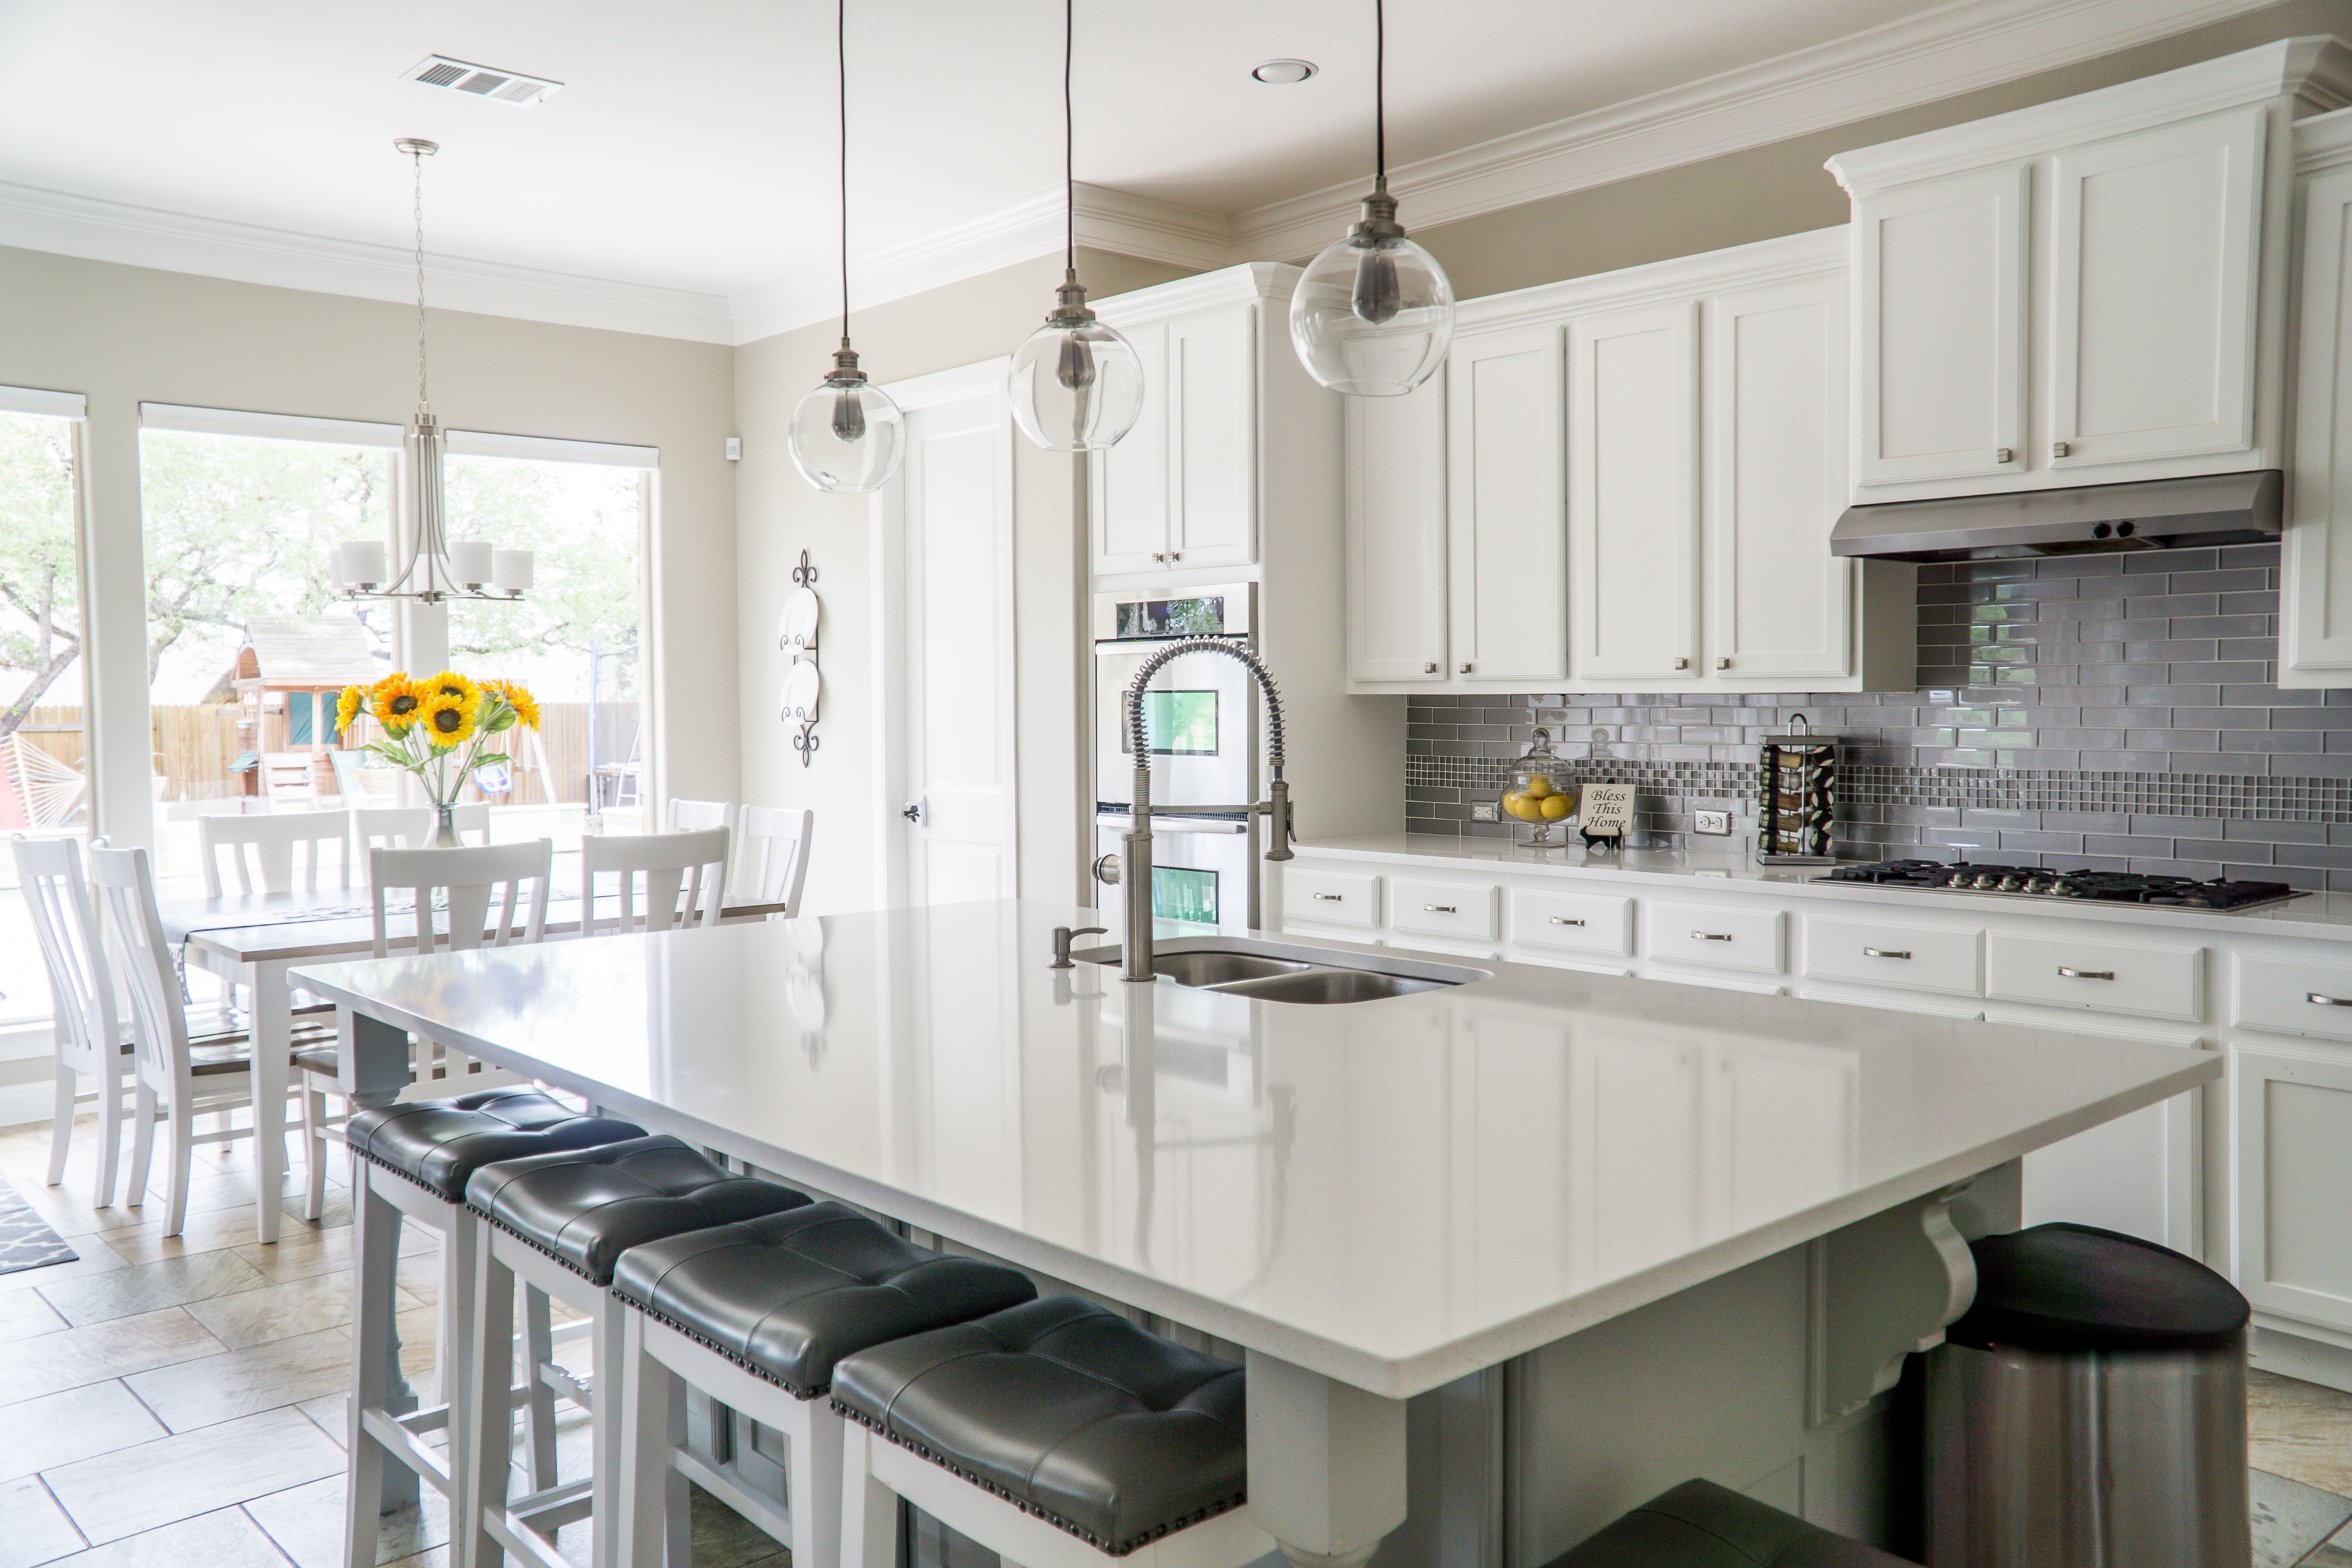
Photo by Mark McCammon
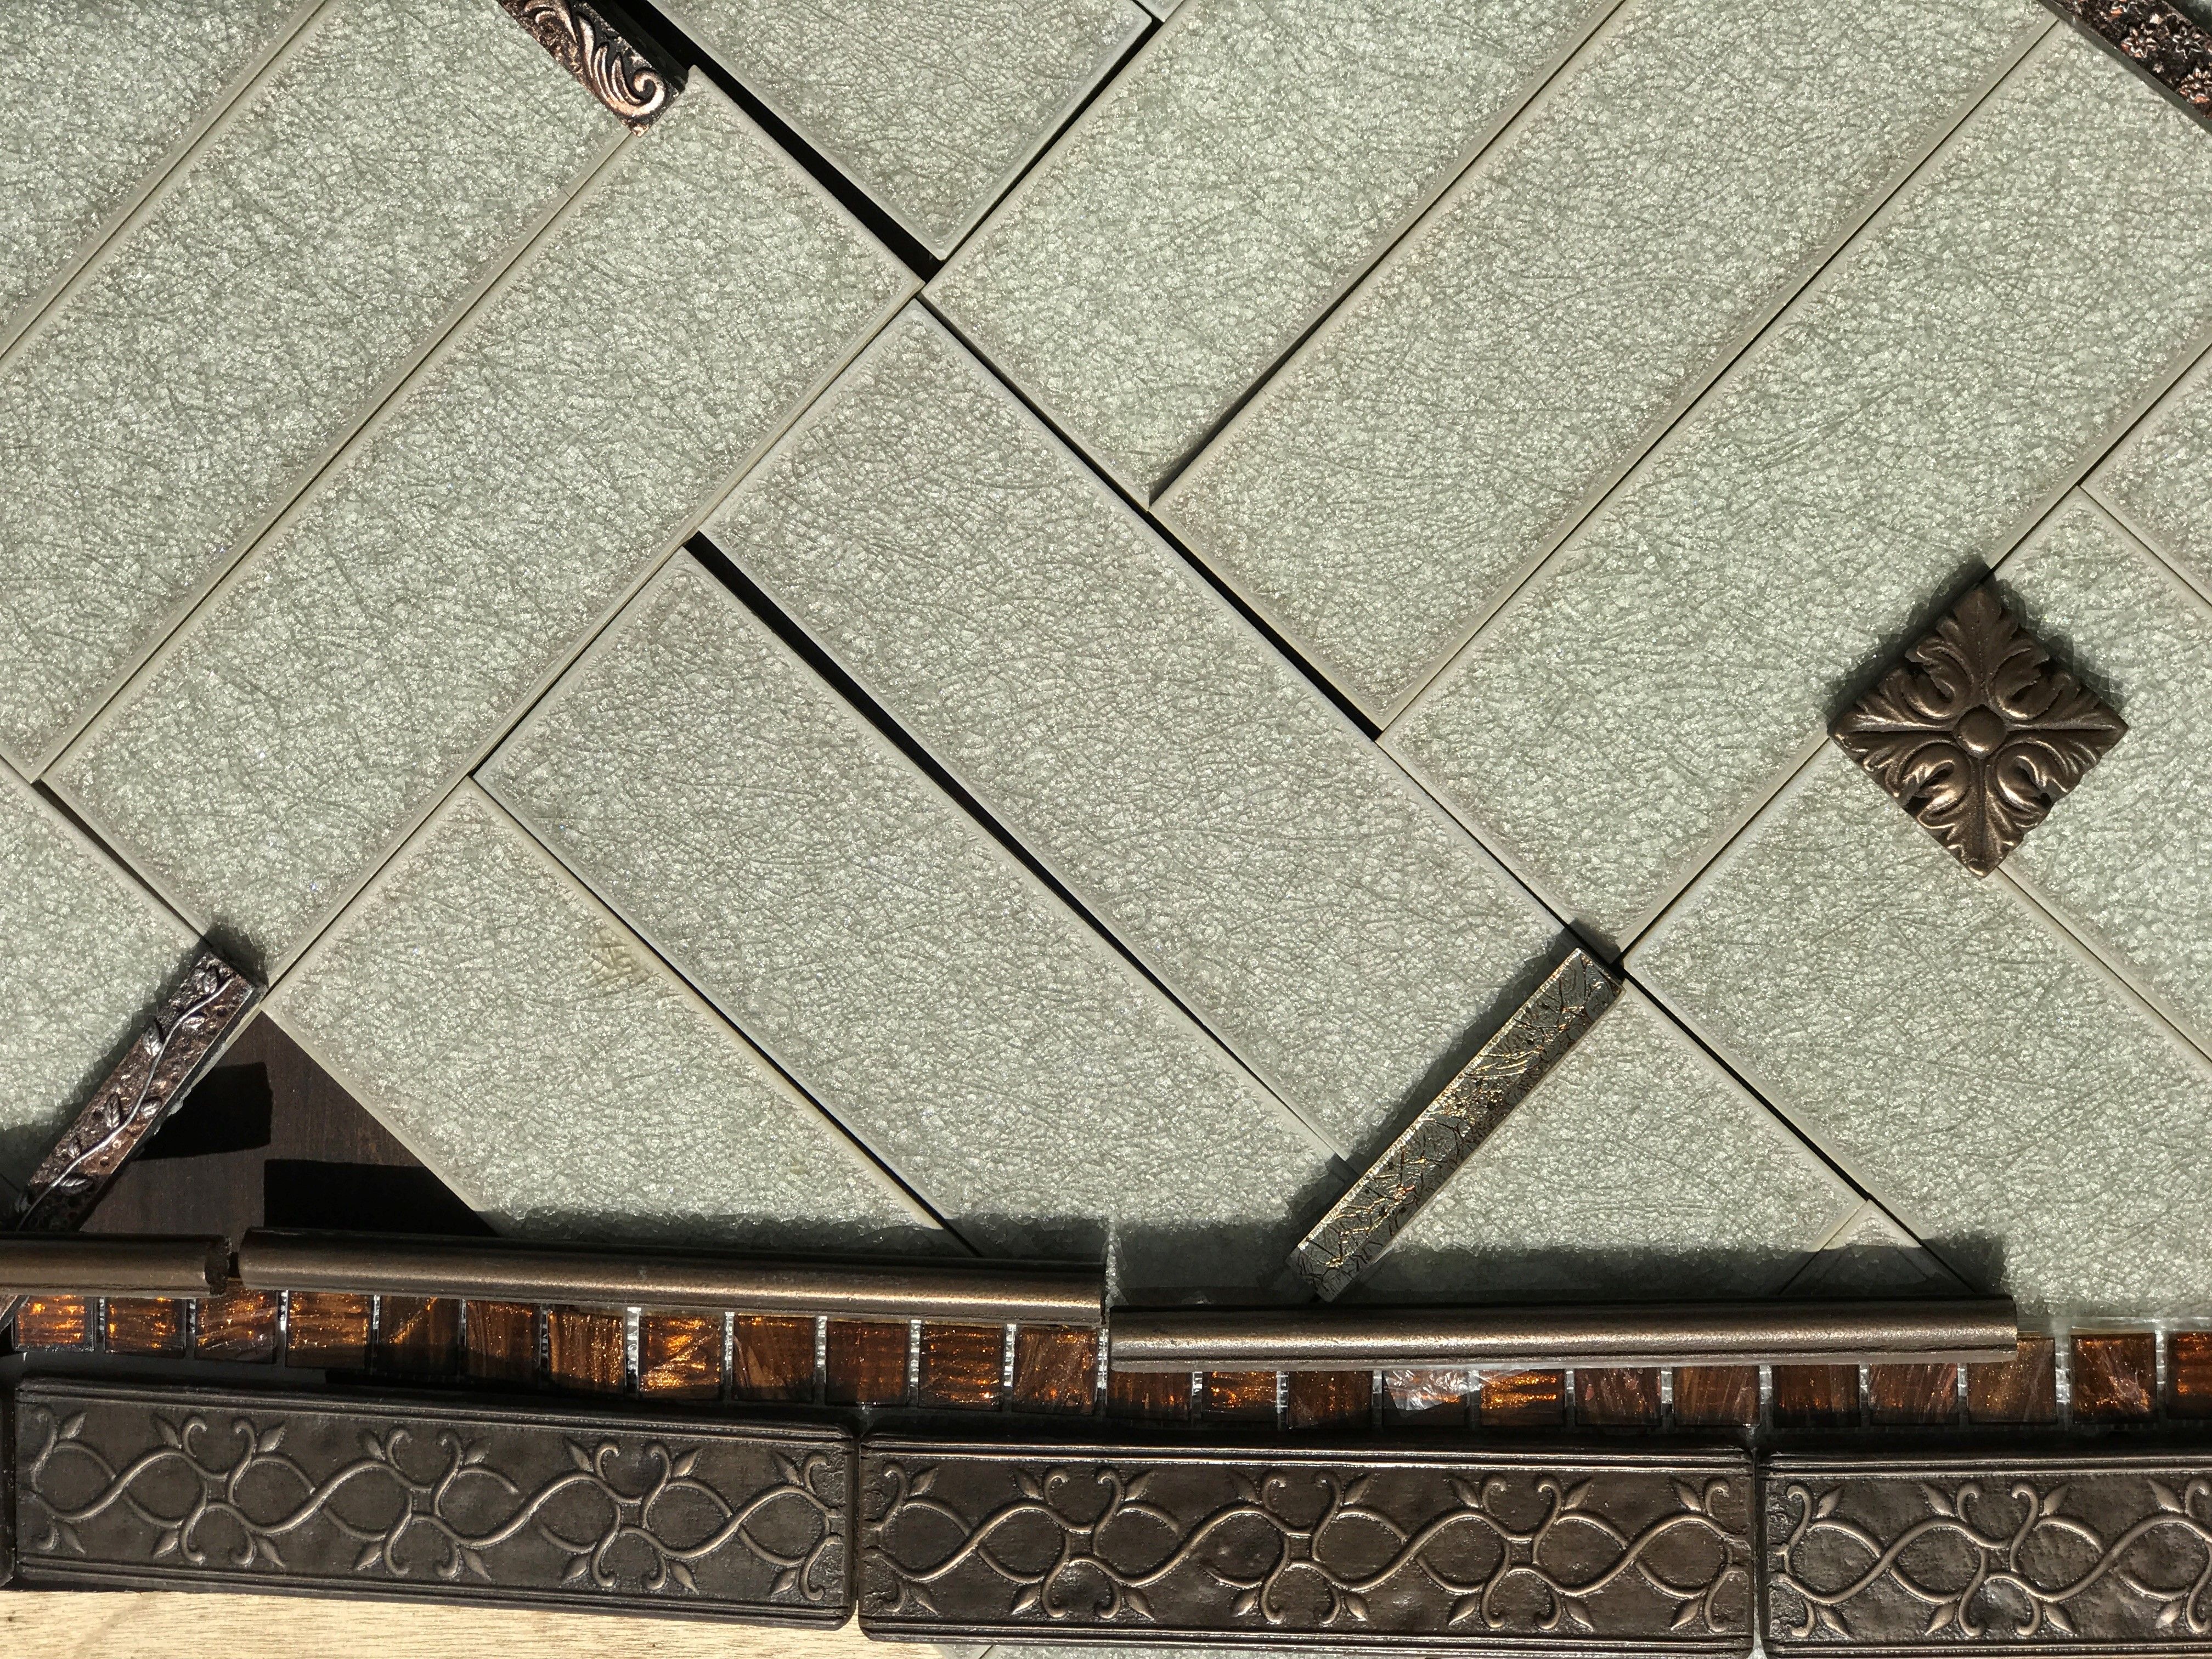
The second largest decision one makes in the kitchen or Bath is tile! There are so many beautiful tiles to select from, where does one begin? Regardless if it is a bath or a kitchen I always start with color and ask the question, “my bath (or kitchen) color is? What ever the answer is will be the dominant color choice for tile. If it is a harsh color such as green or red or blue I do ask a lot of questions to insure this is a color they truly love and can live with in large volumnes for a long time. Most homeowners go the easy route choosing subway tiles but when I show them how you can mix and match tiles and pull tiles off of the netting from specialty tiles to accent your main tile they get so excited and realize this is why they have a designer as they never would have thought of putting them together such as this. Designers are trained and continually are taught to push the design envelope to be creative with new materials and or old materials in new ways or uses.
Upon going through every detail of the design while at the home I then return to my office to create an excel spread sheet of every item that needs to be included in the design to create the aesthetic we have ageed to. I put a dollar figure to it so there are no surprises. My clients are always amazed that I never write anything down but specific numbers while at their home as I am committing it to my memory, (a gift or a curse I’m not sure) as I focuse on them but I remember every item down to the small details!
HOW TO CREATE A “WOW” KITCHEN BACKSPLASH!
You see gorgeous kitchen backsplashes in magazines and DIY shows but don’t know were to start! How do they put all of those unique tiles together? When you go to the tile store you think it will be so easy but when you get there you are overwhelmed with how many chooses there are. What style do you choose? What colors coordinate? How do I even begin? Let me help demystify choosing your tiles! Tile companies actually have designers on staff that create designer looks utilizing different tiles, shapes, sizes, and colors that are designed to be coordinated and utilzed together hence you can purchase them together instantly. Good tile stores create style boards that show you how to put together tiles in unique ways hence you can get great style concepts from them. Or you can hire an Interior Designer for an hour or two to review pictures of your home and quickly choose tiles for you for a custom styling just for you!
1) Start by choosing your style! Is it rustic? Then go for a matte or tumbled tile, one that is rough looking. Is it traditional, then go with a traditional shape like a subway tile that is a rectangle and a material that is seen in every day like a porcelain. Or are you modern? Look for a sleek surface like glass, or unique like cement or an arty modern tile! Pull lots of tiles and see them away from all the others so you can get a better perspective of them as they look different when they are combined with other tiles.
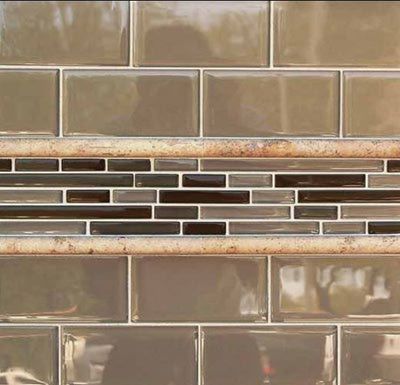
2) Pull the tiles you love from the boxes or off the wall and lay them out on the tables in the store, that is what the’re for! Try different combinations. First start with your field tile which is the tile you would have the most of throughout your design. Then choose an accent tile which is what you will be utilizing to place in random locations or “kiss” throughout the field as an accent. These should be unique such as metal, glass, artistic, decorative. They tend to cost more so only a few will be needed. Purchase them in odd numbers so when you scatter them it doesn’t become a distinguishable pattern, unless you want that.
3) Choose a linear piece which is called a cigar. It is a small thin tile that is about 1/4″ to 1″ and about 6″-8″ long. These are used to seperate two different patterns from the top and bottom section of your backsplash, or at the base of your backsplash where it hits your countertop for a smoother transition. When creating the two sections you have many chooses, you can keep the tiles in the same geometric patterns for a cleaner look or change the direction or pattern utilizing the same tiles. but I do not recommend changing the tiles entirely as you only have 18″ -22″ to design within for a backsplash and using too many different colored tiles and or types will get messy and cluttered looking. Less is more as they say even with tiles!
4) Draw out the outline of your backsplash and layout your tile in completion before you put it into place on the wall. This will allow for less costly error when installing as well as seeing the final results that can be changed or altered before install.
5) Choosing grout. When choosing grout choose the color that is closest to the dominate color so it disappears. Choose a polymer based grout vs sand based as it is easier to clean and has a smooth finish vs rough sandy finish.